Blur the original background
Choose blur when the room adds context and you want fewer distractions. Its colors, light, and movement remain part of the video, so the shot still feels connected to the place it was recorded.
Blur video backgroundVideo background blur
Give your recording a softer backdrop and keep attention on the person speaking. Upload your clip to get started.
Before & after
Drag the comparison to see the plants and shelves soften behind the presenter. Play it to check how the effect follows her movement. Both sides show the same eight seconds of footage.
Watch the hair and shoulders: a faint edge halo remains in this example. Preview your own clip all the way through before downloading.
Made for everyday recordings
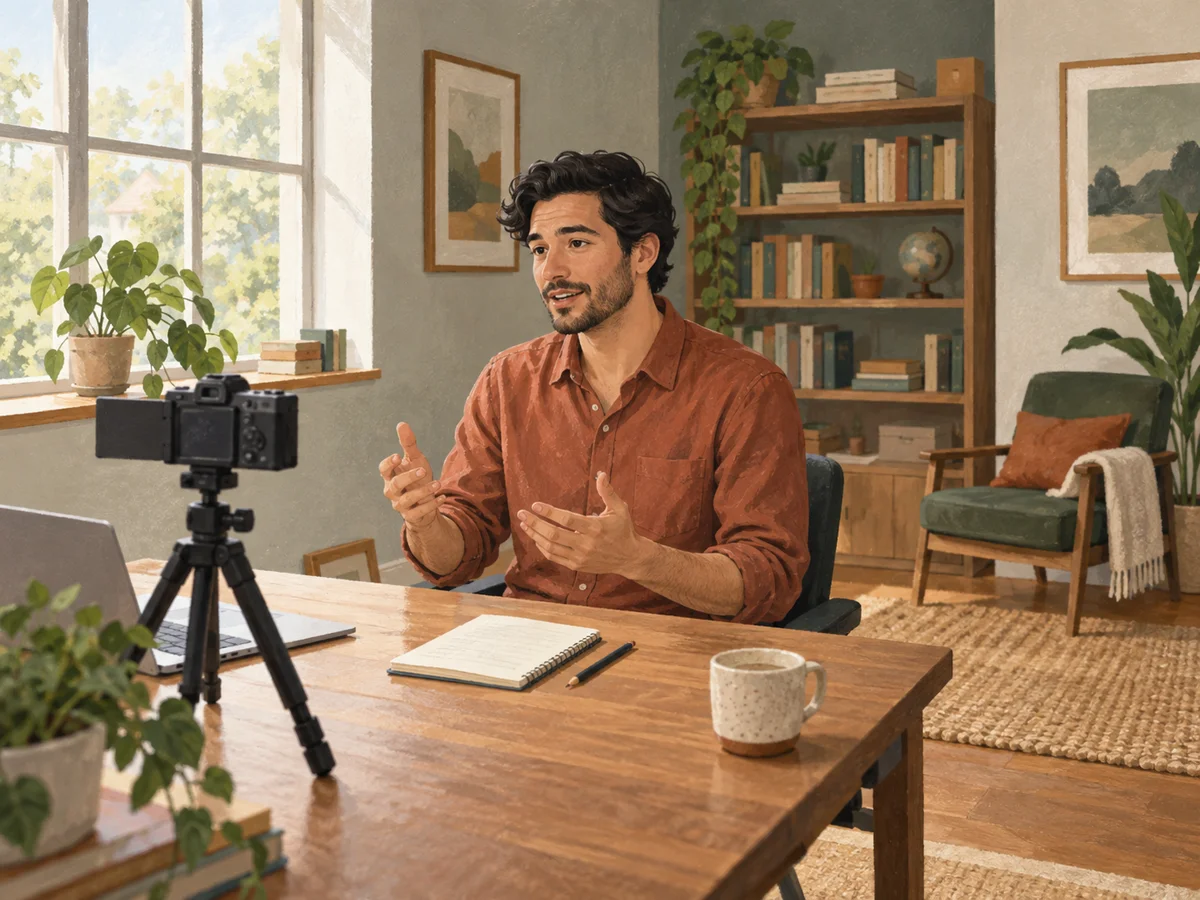
A spare room, shared office, or corner of the living room can be the place where a useful video gets made. Background blur helps when the setting belongs in the shot but its details draw too much attention.
Keep a shelf, doorway, or collection of objects from competing with your face. This is useful for a personal update, an introduction, or a short explanation filmed at home.
Make the presenter easier to follow when the room is incidental to the lesson. If you teach with a board or an object behind you, keep that information sharp instead.
Soften the visual clutter around a speaker in an existing recording. Check that any second speaker or demonstration still looks right before sharing the finished clip.
How it works
Start with the footage you already have. The tool keeps the editing path short, with a preview before you save the result.
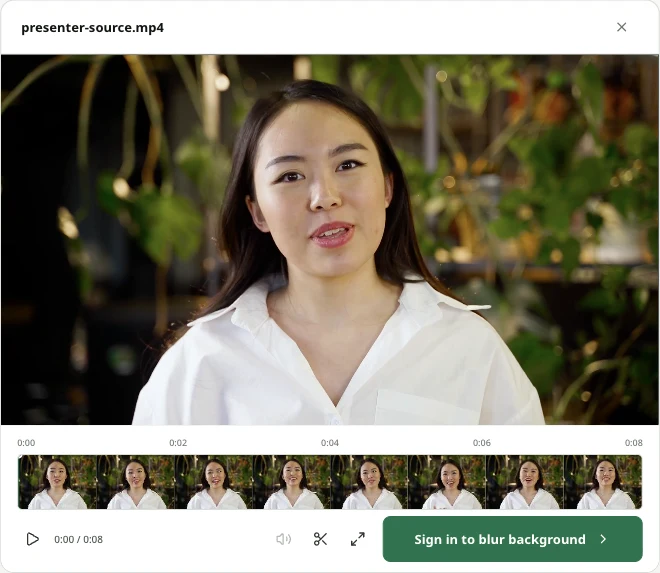
Select a file and review it in the player. Use the scissors control to pick a continuous section when you only need one part.
Start processing from the timeline. The selected range stays fixed while the tool prepares your video.
Play the finished clip, then download the MP4. Use that file in your next edit or upload it to the place you share your videos.
Choose a good starting point
Choose footage where the person is easy to distinguish from the room. Good light and a steady view give the tool a clearer outline to work with. The preview matters most around hair, hands, and quick turns.
A dark shirt against a dark wall can make an edge hard to separate. If you have several takes, try the one with clearer contrast and less motion blur. You do not need a special backdrop; a little distance from the wall and light on the subject can help when you record again.
A paused frame can look convincing even when an edge changes during motion. Watch the whole result, especially gestures, loose hair, reflections, and moments when the subject crosses another object. For an important final video, make that review at the size your audience will see.
Pick the right finish
Choose blur when the room adds context and you want fewer distractions. Its colors, light, and movement remain part of the video, so the shot still feels connected to the place it was recorded.
Blur video backgroundChoose a different background when the original location should disappear, or when you need a particular color or image behind the subject. Preview the replacement with your footage before exporting it.
Change your video backgroundQuestions, answered
Yes. A new account receives 30 credits to try video processing. Sign in when you are ready to start. Background blur uses your existing balance: one credit per successful second of selected video. Making the blurred MP4 from that processed result does not charge a second time. You can inspect the result before deciding whether you need more credits.
The same limits apply across VideoBGRemover: up to 30 seconds per video with trial access, five minutes with Creator, 15 minutes with Pro, and 30 minutes with Studio. Select a shorter passage if you only need part of a recording. Your available credit balance also needs to cover the selected duration.
Compare plansOpen this page in your browser and choose a video from your device. MP4, MOV, and WebM are supported inputs. If your phone saves footage in a format that will not preview in the browser, export an MP4 copy first. Keep the page open while the file uploads; a larger recording will need more time to transfer.
Do not rely on this effect to redact sensitive information. A blurred room can still reveal large text, faces, or recognizable objects, and another person may be treated as part of the subject. For privacy work, cover the sensitive area explicitly and check every frame in an editor designed for redaction.
This tool applies an automatic background blur to the recorded scene behind the detected subject. There is no strength slider or brush for selecting a particular region. If you need a specific depth-of-field style, selective face blur, or manual edge cleanup, continue in a video editor with those controls.
This page processes video files you have already recorded. It does not change your webcam feed in Zoom, Meet, or Teams. For a live call, enable background blur in the meeting app. If you have permission to edit a saved interview or meeting recording, you can upload that file here afterward.
The export keeps the audio from the selected clip when an audio track is present. A silent recording stays silent. Background blur changes the picture; it does not remove room noise, add music, or enhance speech. Listen to the downloaded file as part of your final review before sharing it.
Try it with the recording you want to use.